
CONNECT
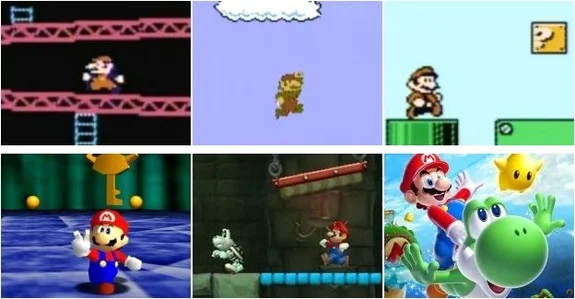 Animation brings drawings made on paper or computer programs to life, creating animated stories. Walt Disney used this process to animate his drawings, starting from simple sheets of paper. On the computer, animation is done frame by frame using computer graphics programs to generate movement. Traditional 2D animation, hand-drawn, relies on creativity to create characters, scripts, and scenes. Even with the advancement of 3D animations, 2D animation techniques are still widely used in media and entertainment.
CONTEMPLATE
DO YOU KNOW WHAT A PROGRAMMING LANGUAGE IS?
A programming language is a set of instructions that allows humans to communicate with computers, specifying what should be done and how it should be done.
Scratch, a visual programming language created by MIT, provides an accessible and fun way to learn programming, replacing lines of code with colorful blocks in an intuitive graphical interface. It can be accessed through the website: https://scratch.mit.edu/
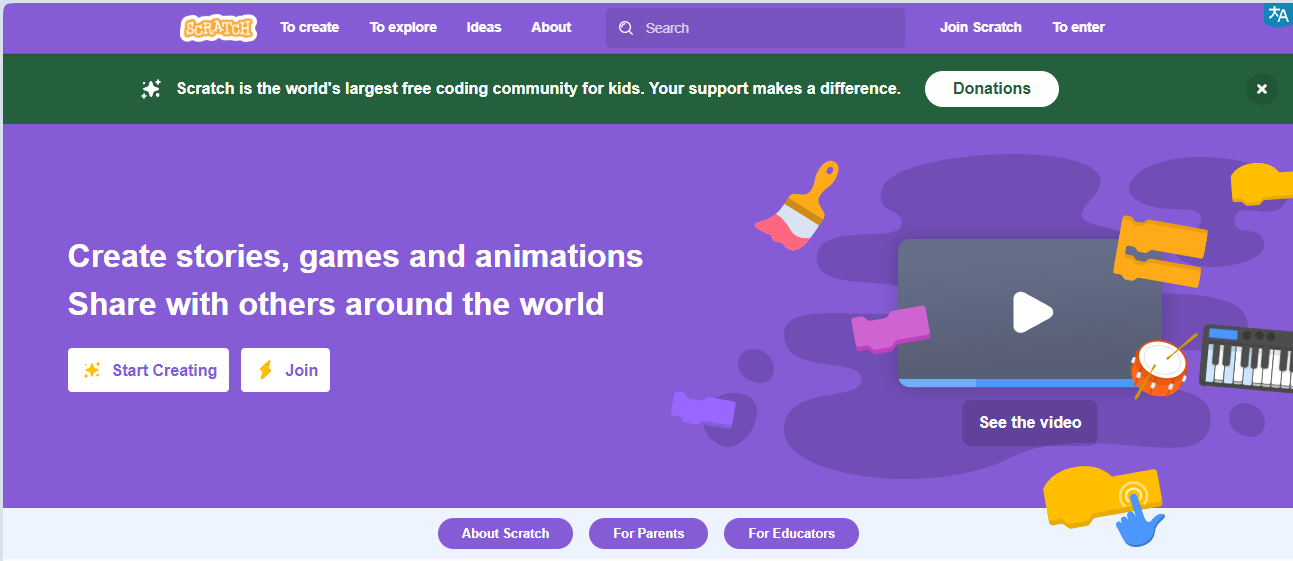
Learning programming with Scratch is easy because it uses a graphical interface with blocks that fit together like LEGO pieces.
Watch the video and see some examples of projects:
WHAT CAN BE CREATED USING SCRATCH?

With Scratch, it is possible to create a variety of projects, such as interactive stories, games, animations, educational projects, and interactive applications.
The platform offers a wide range of creative possibilities for users to explore.
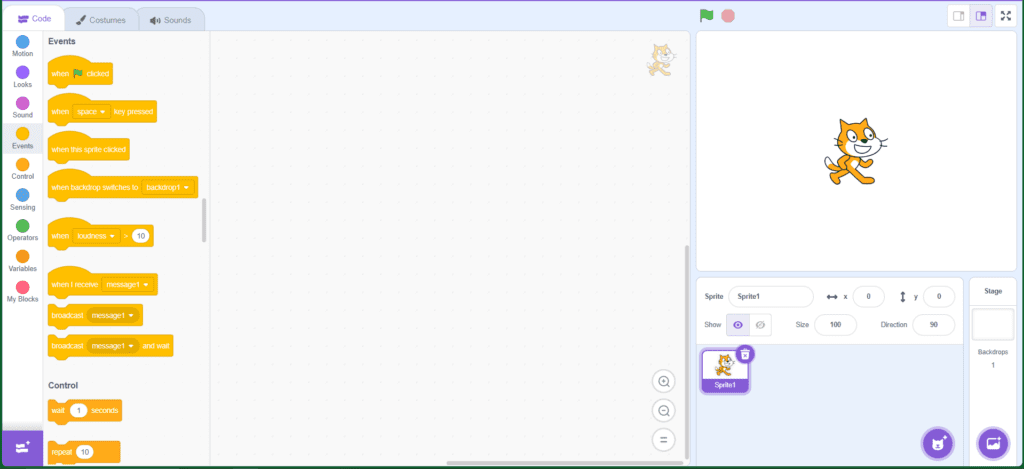
GETTING TO KNOW THE PROGRAM INTERFACE
The program interface is quite intuitive and simple to use.
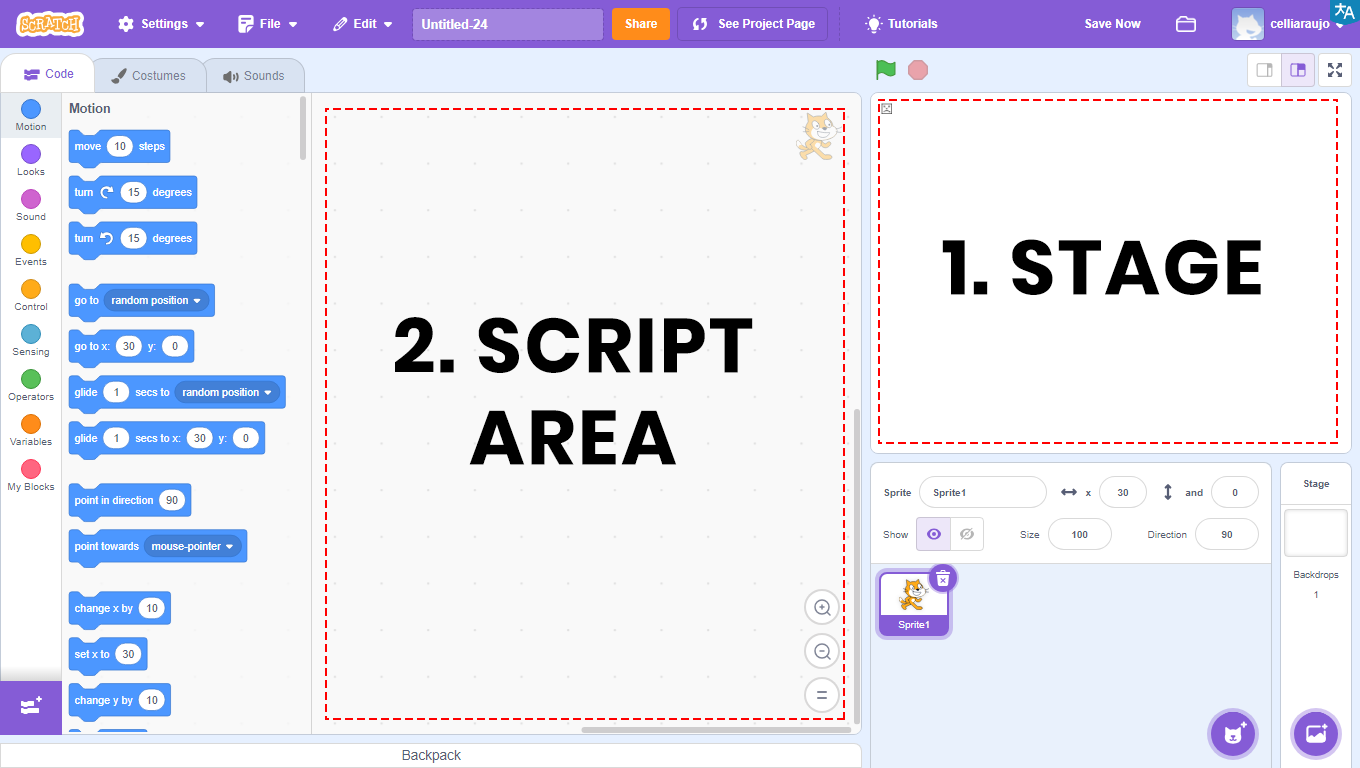
1 – Stage: area that allows the visualization of the entire graphical and animated part of the project, and where tests will be performed.
2 – Script Area: area where programming will occur. Here will be the codes that will be developed and the blocks that will be dragged.
![]()
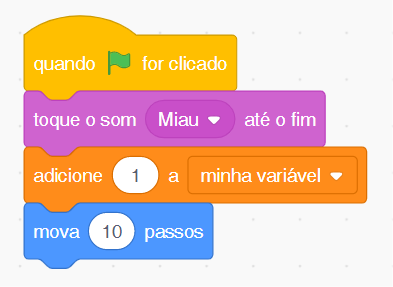
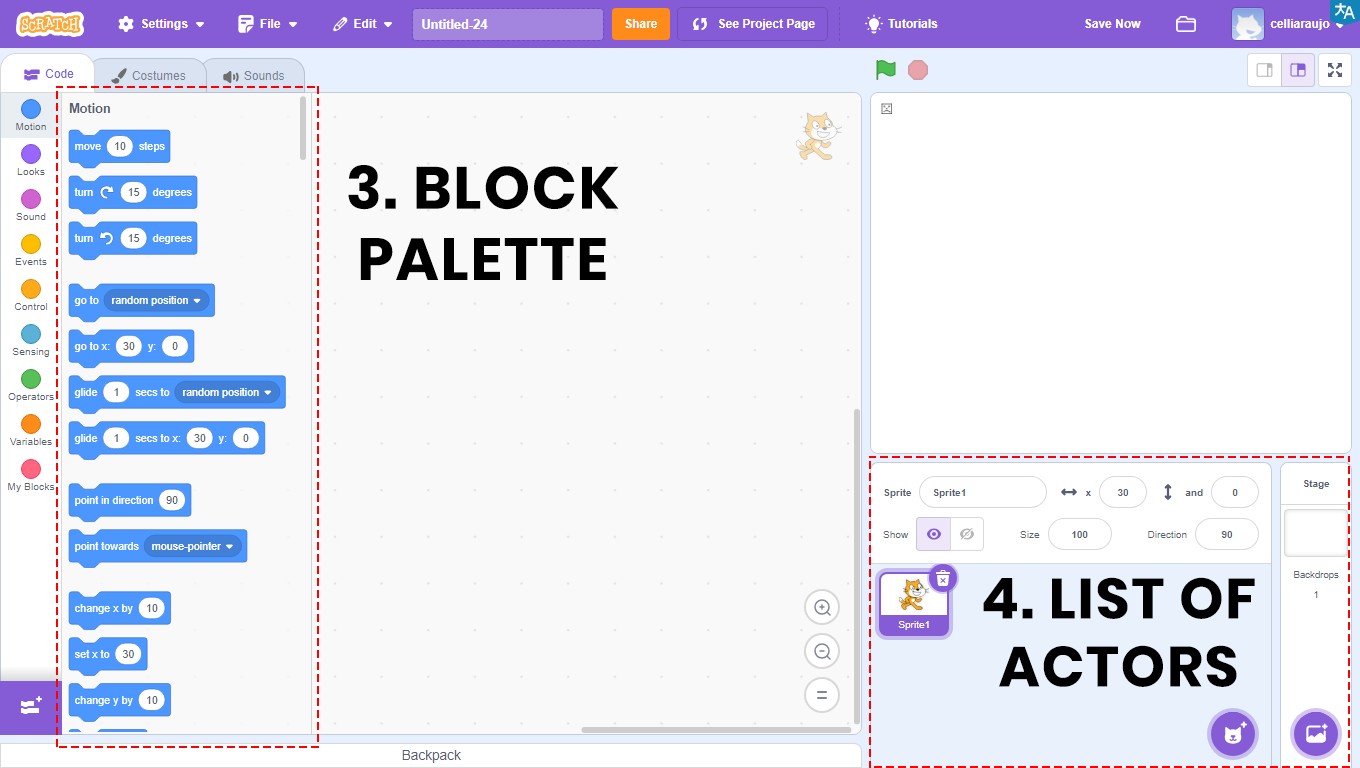
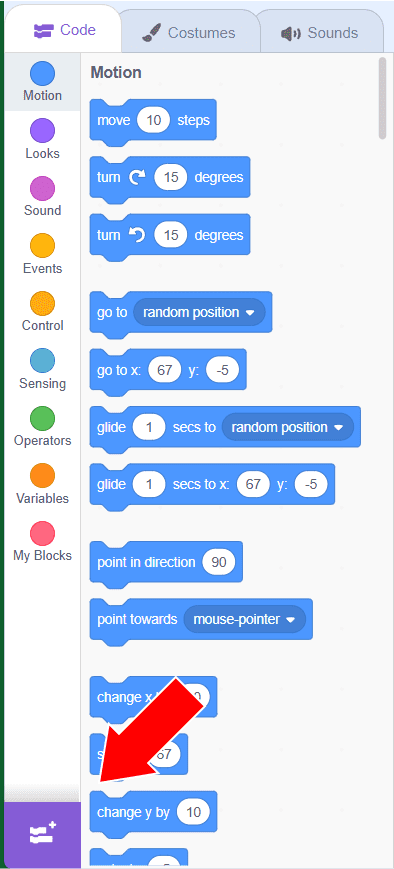
3 – Blocks Palette: all blocks used will be in this area. They are divided by color, and within each color, the blocks have different shapes. Each color is responsible for a function, and depending on the shape, the block returns or reads a type of value.
In the Script Area will be the blocks that will be compiled, that is, transformed into a program, which will be visualized through the Stage.
4 – Sprites List: area that allows the visualization, insertion, and modification of images that will appear on the Stage. Also known as Sprites.
BUILD
What is an animation?
Visit the Scratch website at https://scratch.mit.edu/ and create an animation. Follow the step-by-step instructions, and when you finish, click the green flag to observe the animation you developed.
GETTING TO KNOW SOME PROGRAM FEATURES
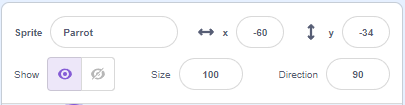
To rename sprites, click in the field next to the text “Sprite.”
To adjust the position of Sprites on the backdrop, enter numbers in the x and y coordinate fields.
To make the sprites visible or invisible, click on the “Show” item icons.
To change the size of the sprite, adjust the numbers in the “Size” field.
To change the direction of the sprite, adjust the numbers in the “Direction” field.
CREATING AN ANIMATION
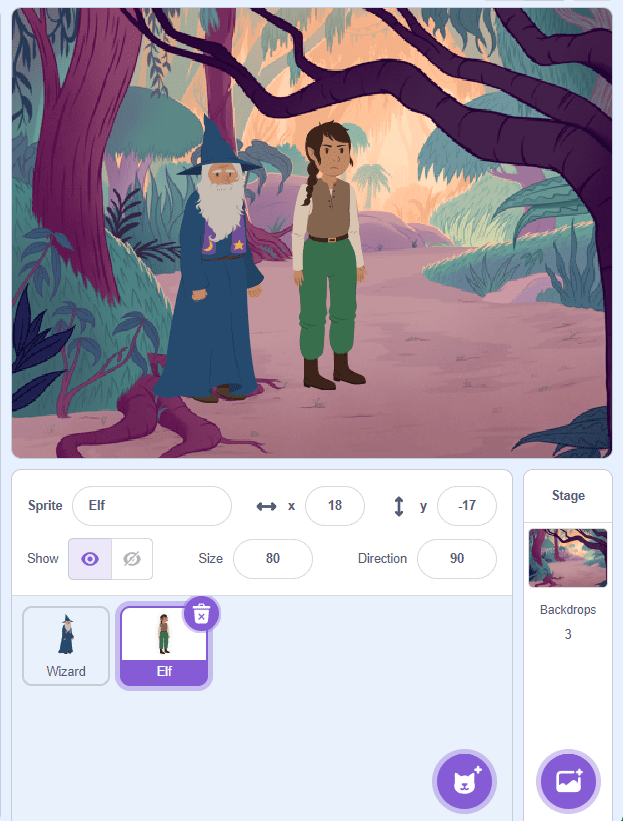
a. Click on the Select Backdrop icon and insert the Jungle background.
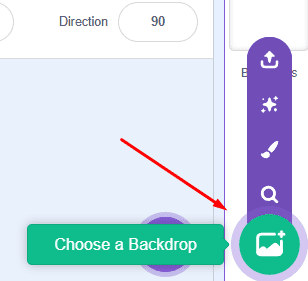
b. Click again on the Select Backdrop icon and insert a second scene called Mountain.
c. Click on the Select Sprite icon to insert the Wizard sprite. Click on the Wizard sprite, go to Events, and drag the block “when ![]() clicked” to the Scripts Area.
clicked” to the Scripts Area.
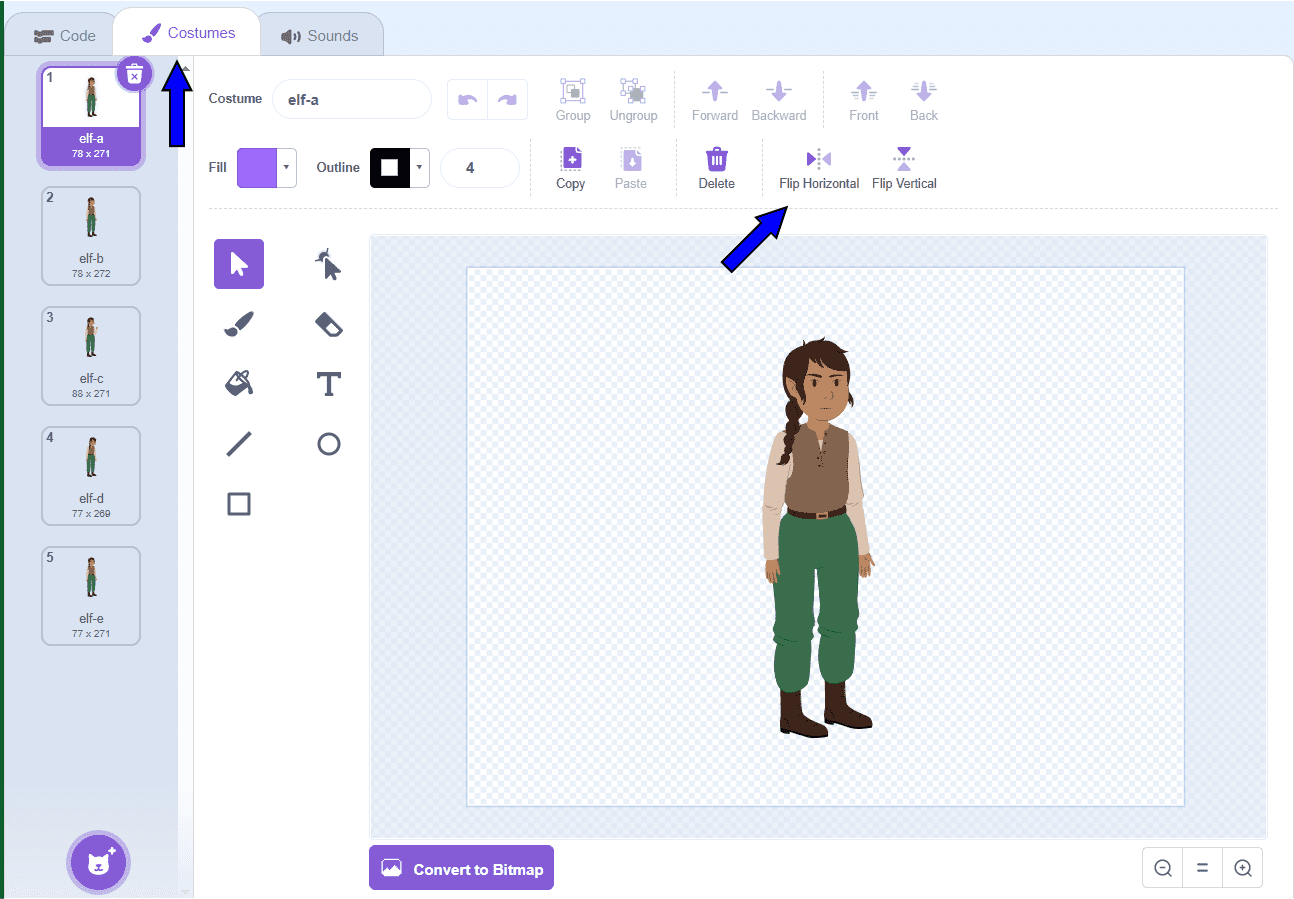
d. Insert a new sprite called Elf by clicking on the Select Sprite icon, and go to the Costumes tab. Select one costume at a time and click on the Mirror Horizontally icon so that the sprite changes position in all of them. Go to Events and drag the block “when ![]() clicked” to the Scripts Area.
clicked” to the Scripts Area.
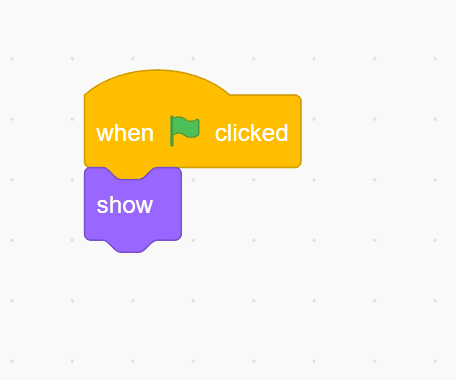
e. Click on the Wizard sprite, go to Appearance, drag the Show block to the Scripts Area, and place it below the previous block.
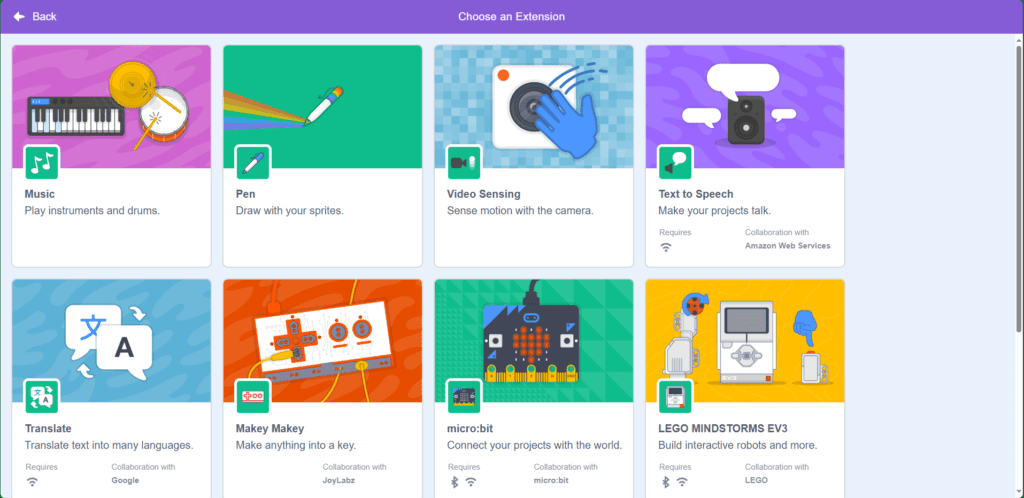
f. To add a text-to-speech, click on the Add Extension function.
g. Click on the Text-to-Speech extension. The Text-to-Speech block will appear in the block palette.
h. Drag the say “hello” block to the Scripts Area and type “Welcome!” in the blank space.
i. Then, insert the set voice to loud and set language to Portuguese (Brazilian) blocks to change the actor’s voice.
j. Still on the Wizard actor, create a second command block. Click on Events and drag the “when backdrop switches to Mountain” block to the Scripts Area. Then, go to Appearance, drag the hide block to the Scripts Area, and place it below the previous block.
k. Click on the Elf actor. Go to Appearance, drag the switch to costume elf-a block to the Scripts Area, and place it below the previous block. Switch to the “elf-b” option.
l. Go to Control, drag the wait 1 sec block to the Scripts Area, and place it below the previous block. Change it to “2”. Go to Appearance, drag the switch to costume elf-a block again to the Scripts Area, and place it below the previous block. Switch to the “elf-e” option.
m. Go to Text-to-Speech, drag the set voice to loud and say “hello” blocks in that order to the Scripts Area, and insert them into the block set. Set the voice for the Elf actor and type his line “Hello! Thank you.”
n. Still on the Elf actor, create a second command block. Click on Events and drag the “when ![]() clicked” block to the Scripts Area. Go to Appearance, drag the switch backdrop to Jungle block to the Scripts Area, and place it below the previous block.
clicked” block to the Scripts Area. Go to Appearance, drag the switch backdrop to Jungle block to the Scripts Area, and place it below the previous block.
o. Click on Control, drag the wait 1 sec block to the Scripts Area, and insert it into the block set. Change it to “4”. Go to Appearance, drag the switch backdrop to Jungle block again to the Scripts Area, and place it below the previous block. Switch to the “Mountain” option.
p. Go to Appearance, drag the switch to costume elf-a block to the Scripts Area again, and place it into the block set. Switch to the “elf-e” option.
q. Go to Text-to-Speech, drag the say “hello” block to the Scripts Area, and insert it into the block set. Type the Elf actor’s line “Wow! It’s so cold out here!”
r. Now, to view the animation you created, click on ![]() .
.
s. Create a new backdrop, click on the Select Backdrop icon, and then on Paint.

t. Continue the story by creating new lines for the actors.
CONTINUE
 Share the results of the project with the class:
• How was it to use two actors in the same scene?
• Did you find it challenging to include more than one scene?
• Was it clear that each actor has its own programming?
• Did you find it difficult to fit the blocks (commands) together?