CONNECT

Animation brings drawings to life, creating the illusion of movement and enabling visual storytelling. Initially hand-drawn in 2D, animation has evolved with technology to digital animation and later to 3D, which offers greater realism and complexity. 3D stands out in cinema and major productions, while 2D remains widely used in TV series and mobile games. Both techniques are important across various fields, including education, advertising, and medicine, highlighting the ongoing evolution of creativity and technology in animation.
CONTEMPLATE
DO YOU KNOW WHAT A PROGRAMMING LANGUAGE IS?
A programming language is a set of instructions that enables humans to communicate with computers, providing indications on what tasks to perform and how to perform them.
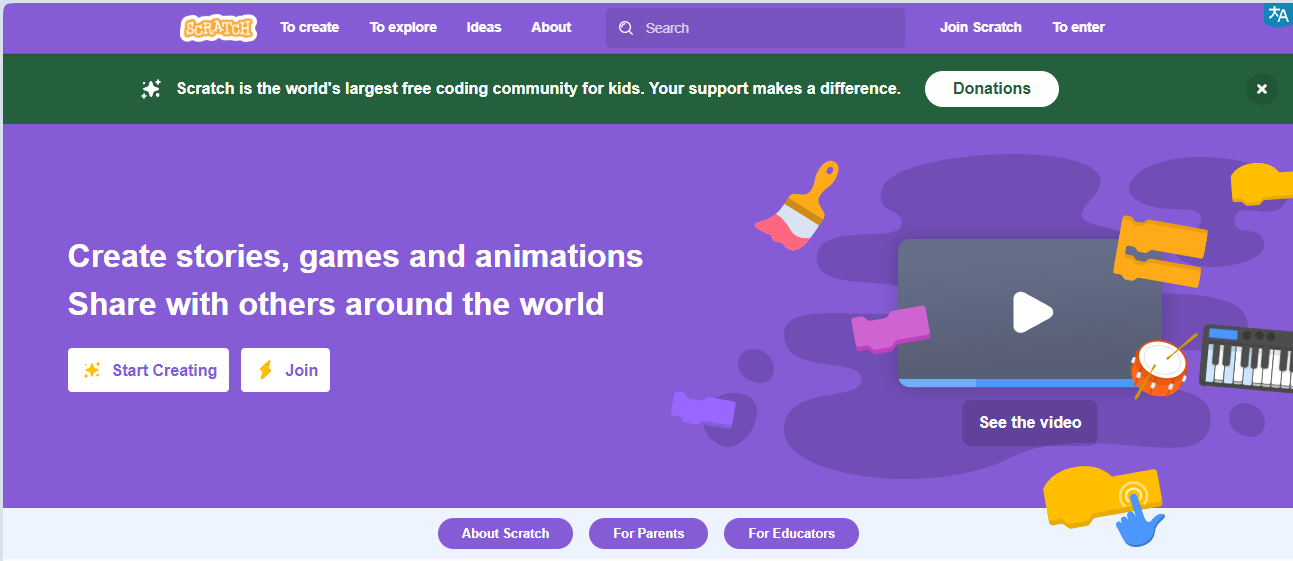
Scratch, a visual programming language created by MIT, provides an accessible and fun way to learn programming, replacing lines of code with colorful blocks in a graphical interface. It can be accessed through the website: https://scratch.mit.edu/
Learning to program with Scratch is simple, as it uses a graphical interface and blocks that fit together like LEGO pieces.
Watch the video and see some project examples:
WHAT CAN BE CREATED USING SCRATCH?

With Scratch, you can create a variety of projects such as interactive stories, games, animations, educational projects, and interactive applications.
The platform offers a wide range of creative possibilities for users to explore.
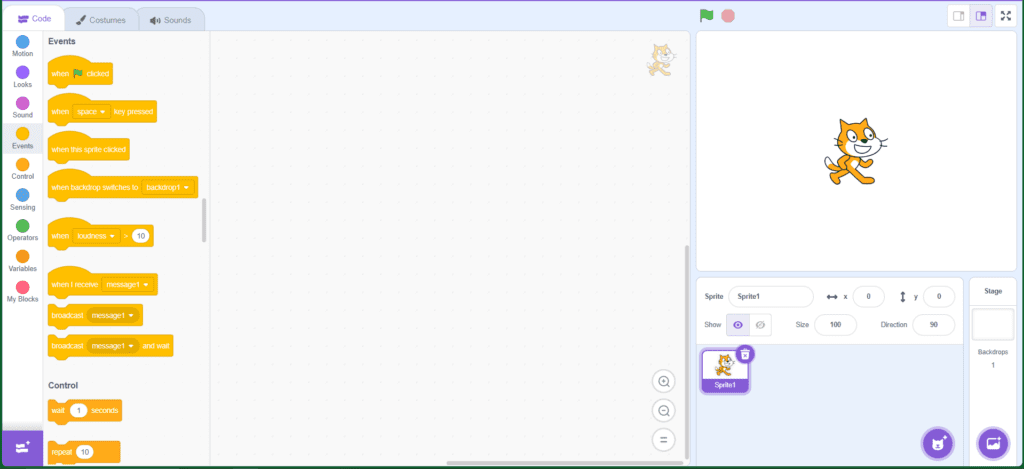
GETTING TO KNOW THE PROGRAM INTERFACE
The program interface is quite intuitive and easy to use.
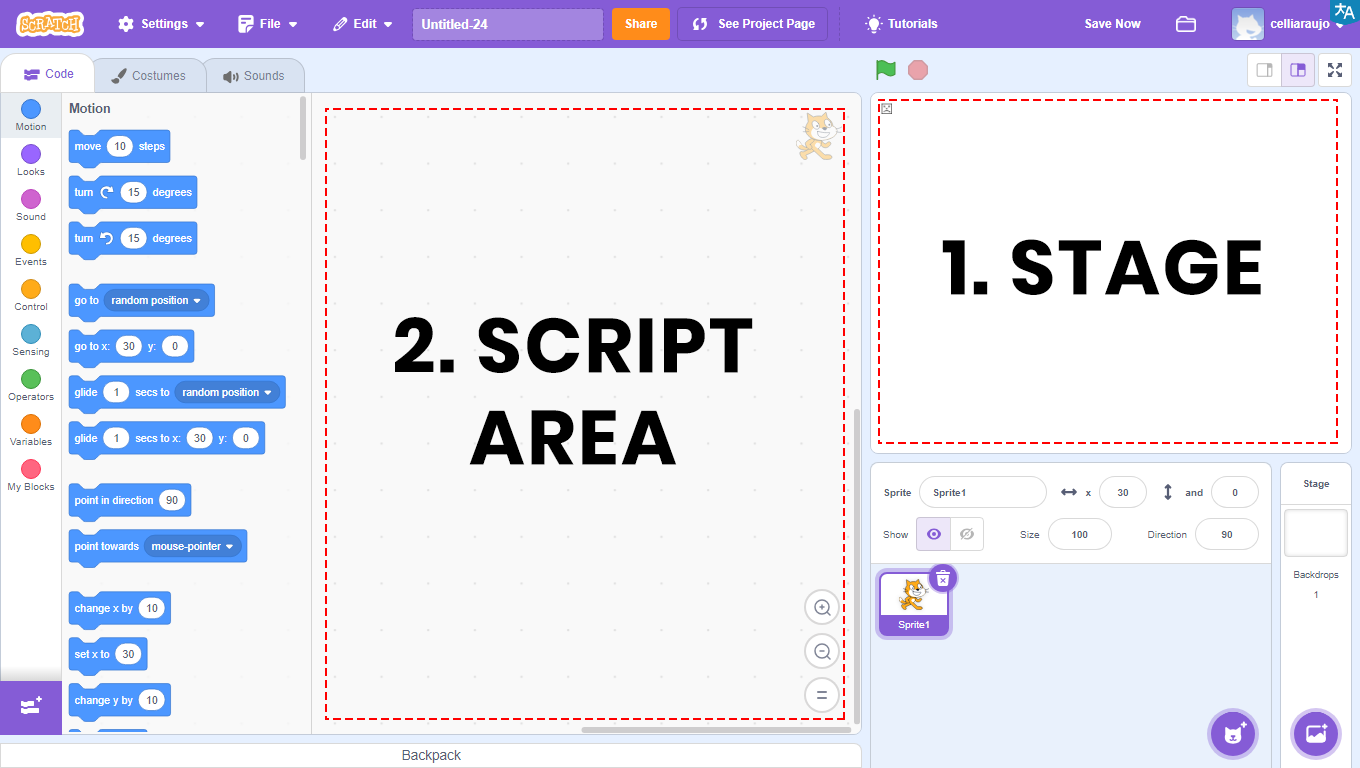
1 – Stage: This area allows you to view the entire graphical and animated part of the project and where tests will be performed.
2 – Script Area: This area is where programming takes place. Here you’ll find the codes to be developed and the blocks to be dragged.
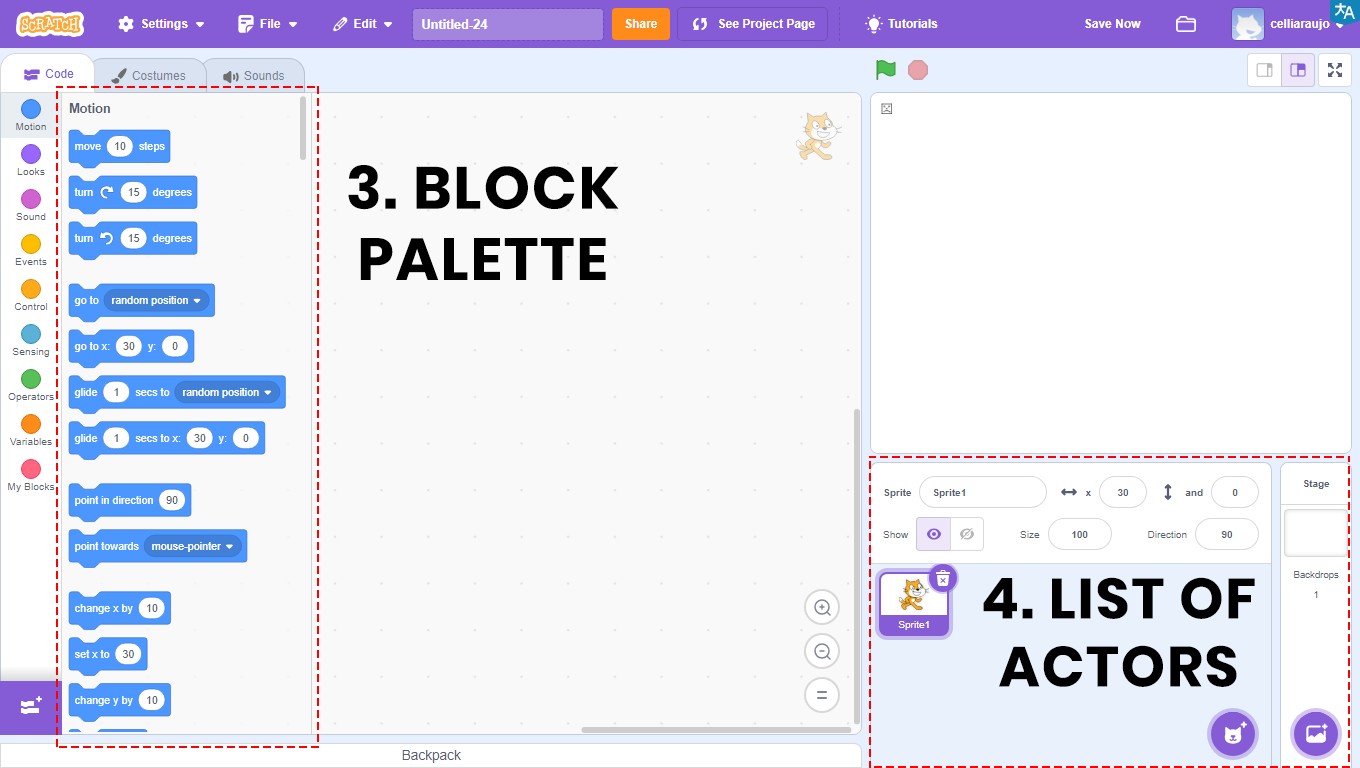

3 – Block Palette: All blocks used will be in this area. They are divided by color, and within each color, blocks have different shapes. Each color serves a function, and depending on the shape, the block returns or reads a type of value.
In the Script Area, you’ll find the blocks that will be compiled into a program, which will be viewed through the Stage.
4 – Sprites List: This area allows you to view, insert, and modify images that will appear on the Stage. Also known as Sprites.
BUILD
ACTIVITY PROPOSAL

SURPRISE BUTTON
Access the Scratch website at https://scratch.mit.edu/ and the Sprite can be used as a button, changing color and playing a sound. Follow the step-by-step instructions, and when you finish, press the space bar and observe the animation you developed.
GETTING TO KNOW SOME PROGRAM FEATURES
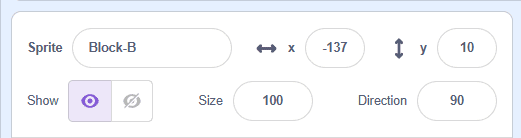
1. To rename Sprites, click in the field next to the text “Sprite”.
2. To adjust the position of sprites on the stage, enter numbers in the x and y coordinate fields.
3. To make an sprite visible or invisible, click on the “Show” item icons.
4. To change the size of the sprite, adjust the number in the “Size” field.
5. To change the direction of the sprite, adjust the number in the “Direction” field.
PROJECT PROGRAMMING
1. Click on the Cat Sprite and then on the trash can icon to delete it. 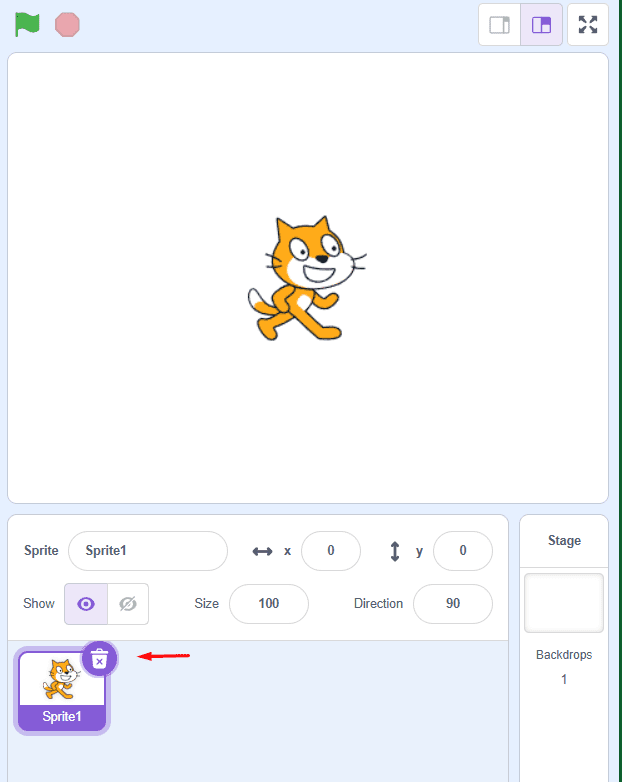
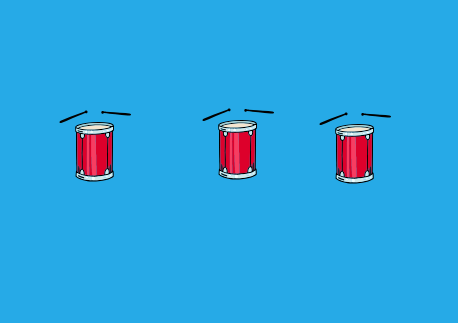
2. Click on the spot indicated by the green arrow to insert characters as new Sprites (Drum). Repeat this process to insert 3 identical Sprites.
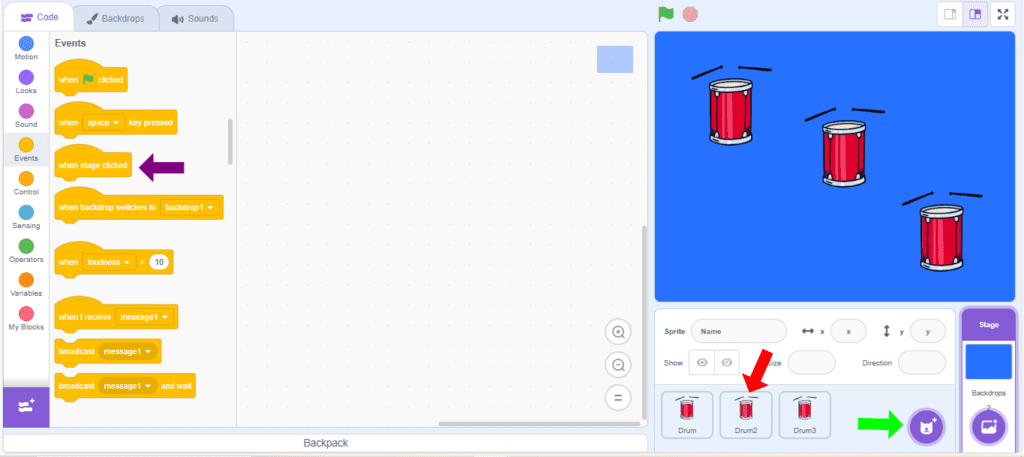
3. Select the second Sprite (red arrow), and in “Events” drag the block “when space key pressed” to the Script Area.
4. To format a scenario, click on the “Scenes” tab, indicated by the green arrow. In this activity, change the background of the scenes. To do this, click on “Fill” (indicated by the purple rectangle), and choose a color for the background of the scene.
5. Click on the “Rectangle” (indicated by the red circle) and then draw a rectangle filling the entire area, as shown in the image.

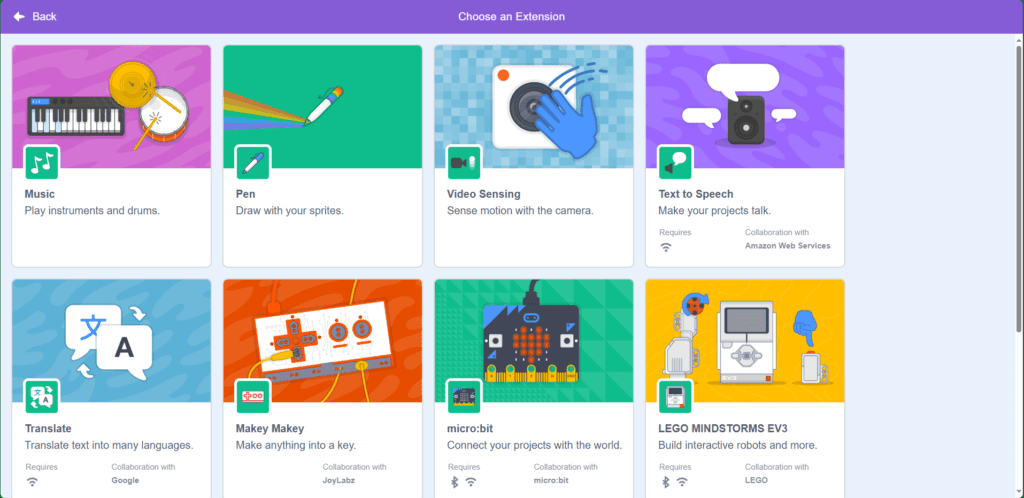
6. In this lesson, use a different extension. In the bottom left corner of the screen, click on the “Add an Extension ![]() ” icon.
” icon.
The screen below will open, select the first extension, Music. It will be included in the block palette with the  icon.
icon.
6. In “Looks“, drag the block “change 25 to effect…” to the Script Area.
7. In “Music“, drag the block “play note…” to the Script Area (red arrow).
8. Select another sprite, repeat steps 6 and 7, then in Control, drag the block repeat 10 times and change to 3.
9. Select the last sprite, repeat step 8 and change to 5.
10. Click on the space key and see the surprise.
11. At the end, see how the animation turned out!
CONTINUE
 Share with the class the results of your creation:
• How was it to add this new extension?
• What would you do differently?