CONNECT
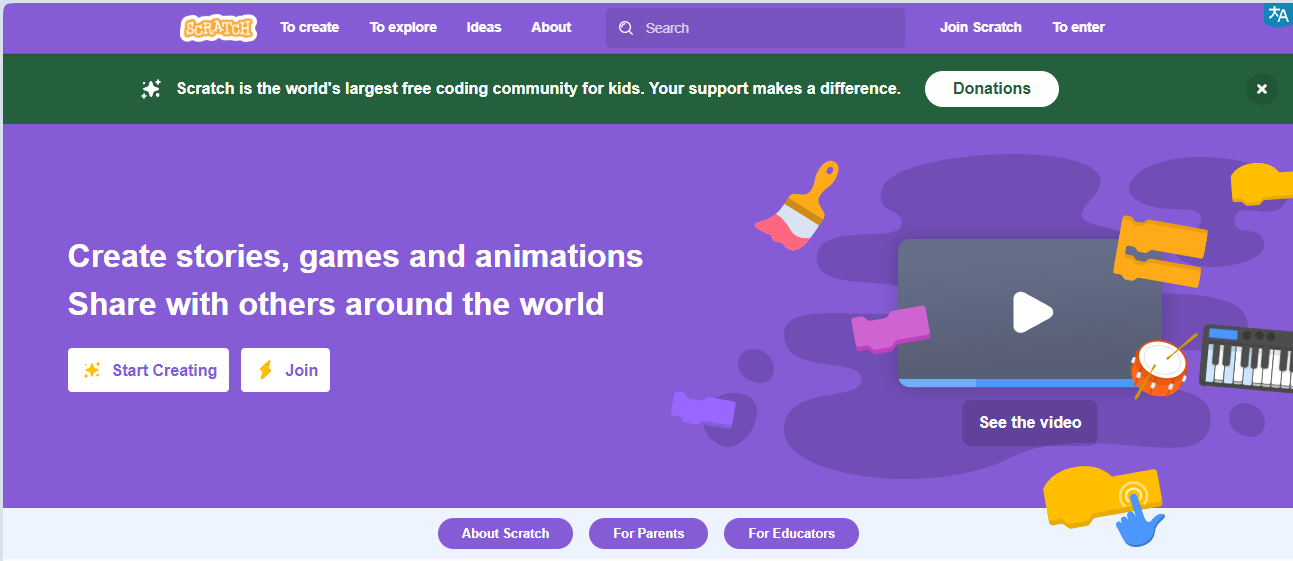
Communication between humans and computers is facilitated by programming language. This form of written language establishes a set of instructions and rules, known as algorithms, which are used to create programs (software). These programs are later translated or interpreted into a form understandable and executable by the computer. A practical example of this approach is the Scratch software, available at https://scratch.mit.edu, which simplifies learning programming through blocks that fit together, similar to building toys, to create the necessary instructions.
Learning programming through Scratch is easy because it uses a graphical interface and blocks that are assembled like LEGO.
Watch the video and see some project examples:
CONTEMPLATE
WHAT CAN BE CREATED USING SCRATCH?
 With the programming language Scratch that uses colorful blocks, it is possible to create: stories, games, animations, and programming for small robots.
GETTING TO KNOW THE PROGRAM INTERFACE
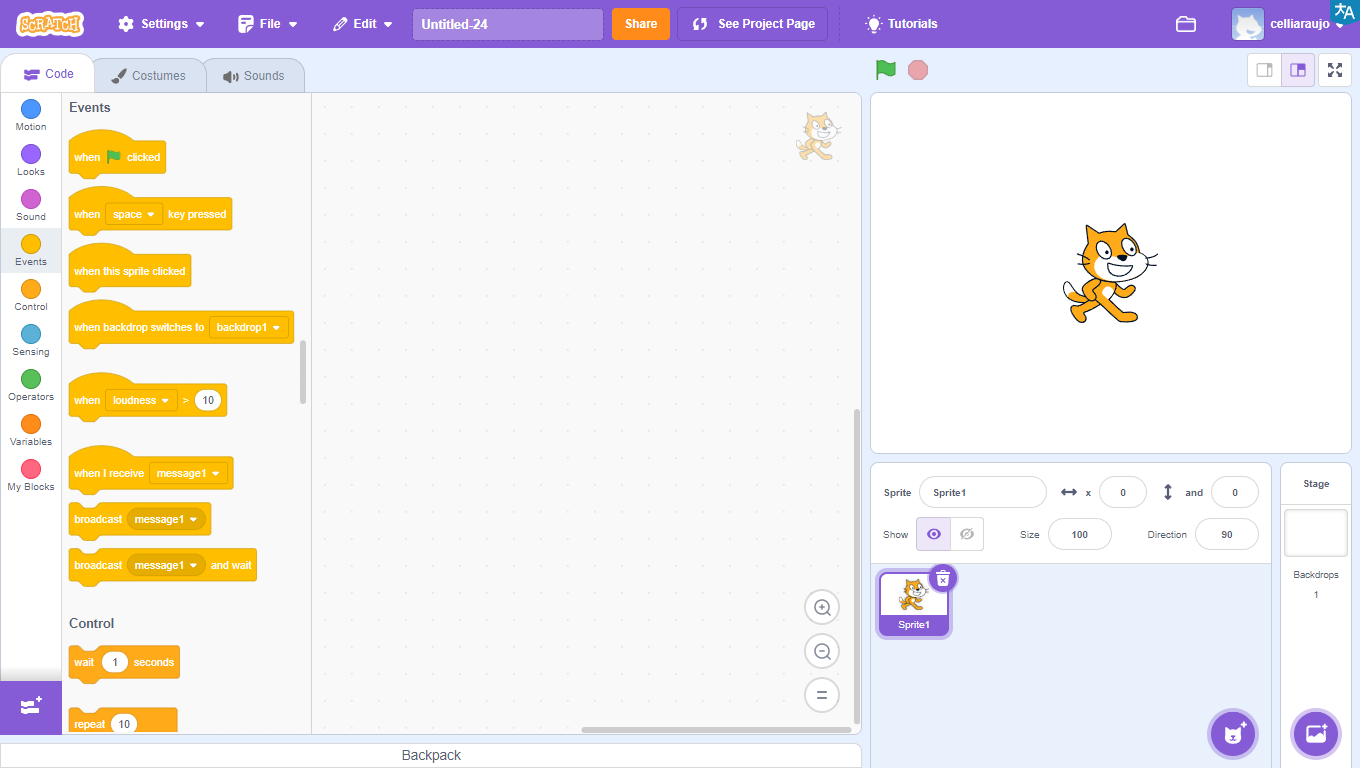
The program interface is quite intuitive and easy to use.
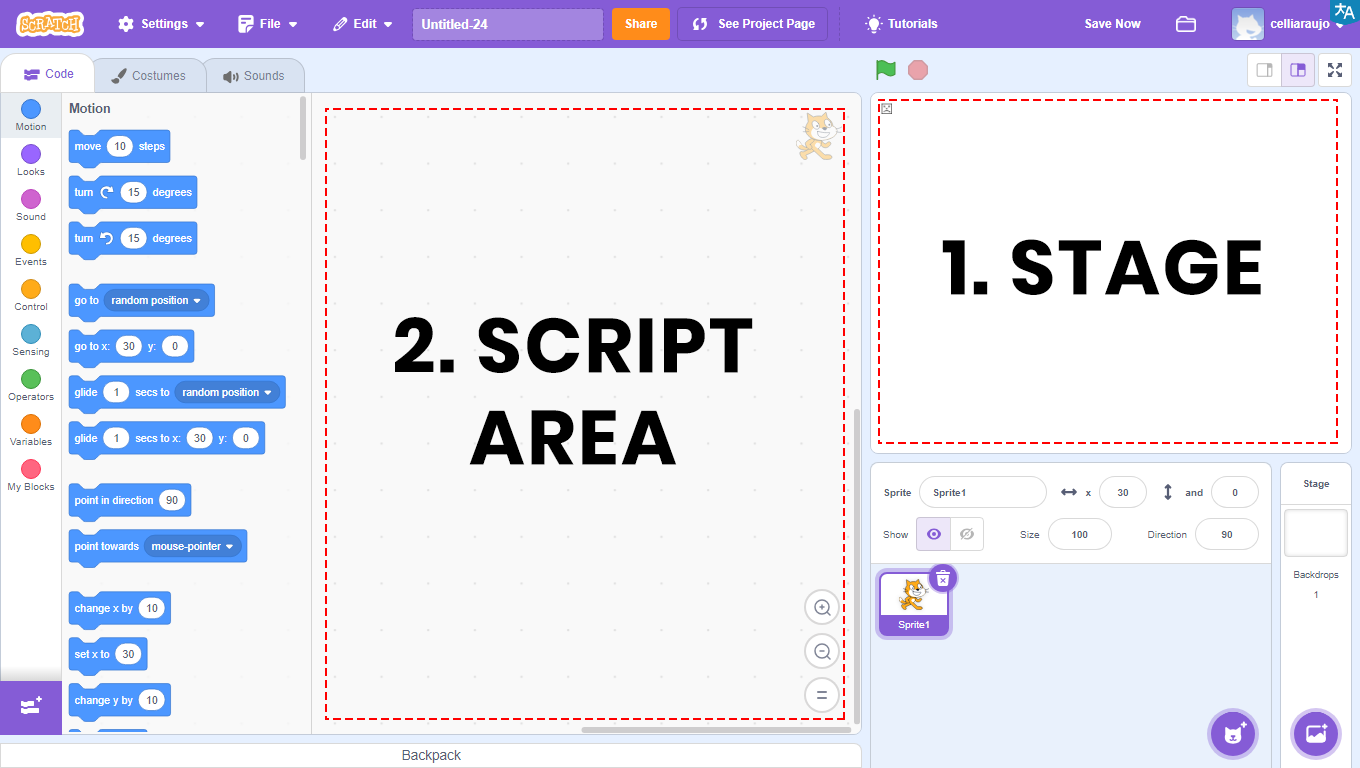
1 – Stage: area that will allow the visualization of all graphical and animated parts of the project, and where tests will be carried out.
2 – Scripts Area: area where programming will take place. Here are the codes to be developed and the blocks to be dragged.
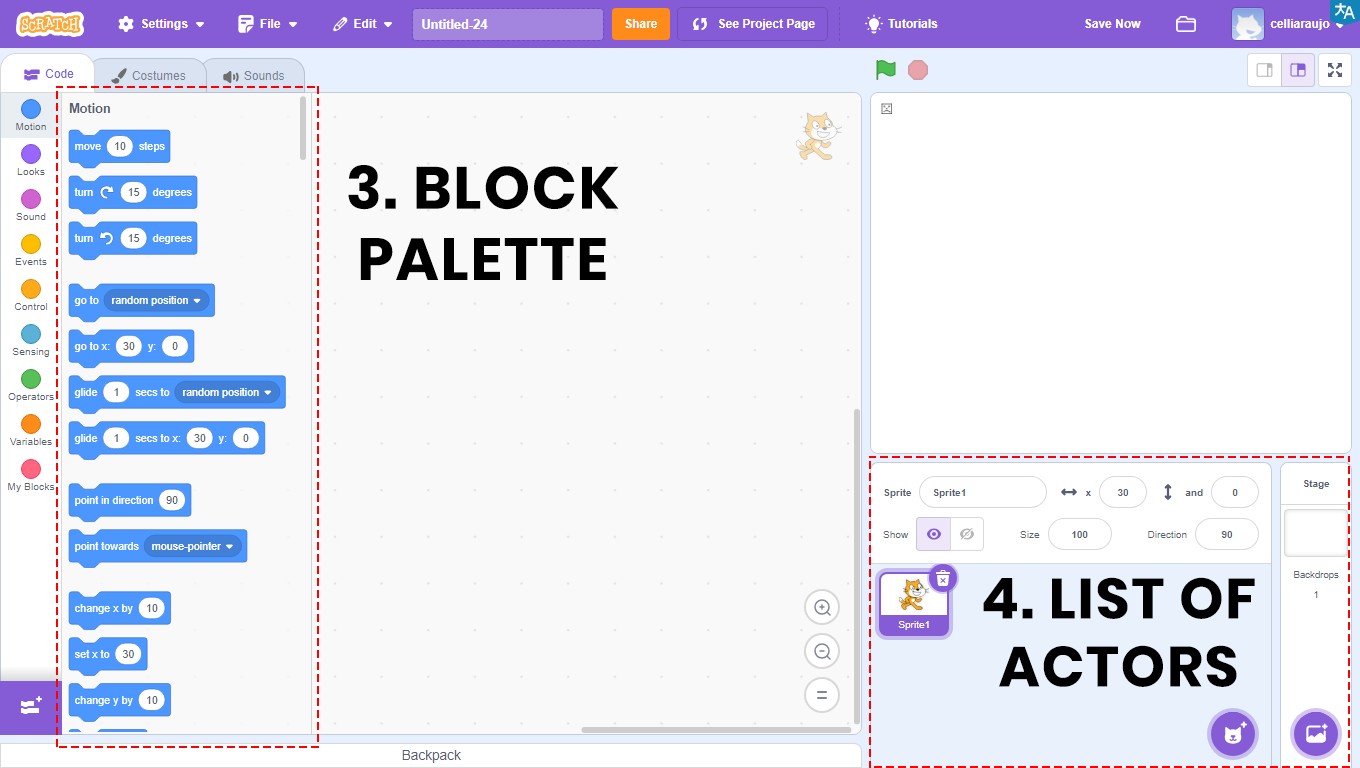

3 – Block Palette: all blocks used will be in this area. They are divided by color, and within each color, the blocks have different shapes. Each color is responsible for a function, and depending on the shape, the block returns or reads a type of value.
In the Scripts Area will be the blocks that will be compiled, that is, transformed into a program, which will be viewed through the Stage.
4 – Sprite List: area that will allow the visualization, insertion, and modification of images that will appear on the Stage. Also known as Sprites.
BUILD
ACTIVITY PROPOSAL

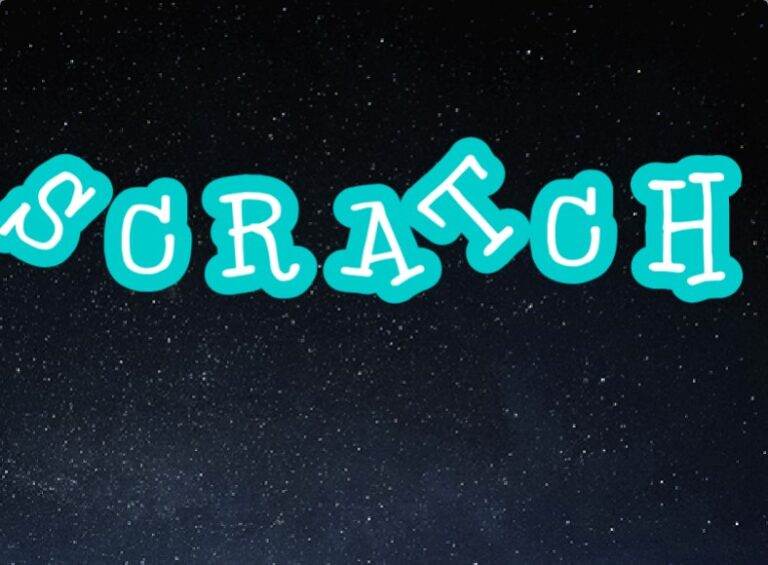
ANIMATE A NAME (SCRATCH)
Create an animation with the program name SCRATCH. Each letter of the name will have a different action: change color, rotate, blink, etc.
PROGRAMMING THE PROJECT
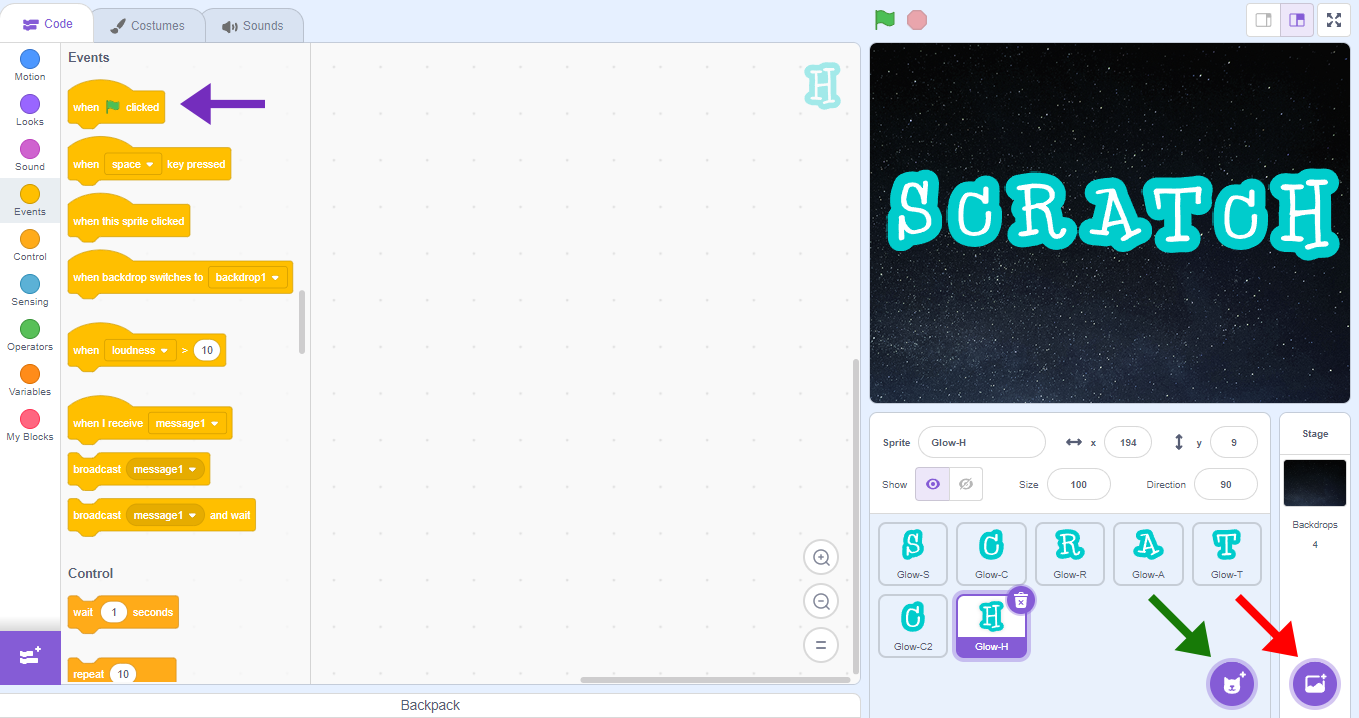
1. Click in the location indicated by the green arrow to insert the letters of the program name (Scratch) as a new Sprite.
2. Click in the location indicated by the red arrow to insert a background (Stars) as a Backdrop.
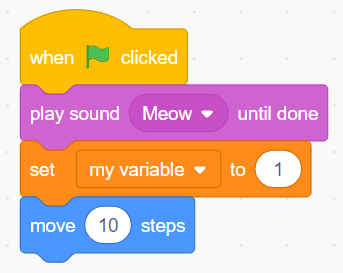
3. Drag the block “when ![]() clicked” to the Scripts Area (purple arrow).
clicked” to the Scripts Area (purple arrow).
4. For each letter of Scratch, the blocks: 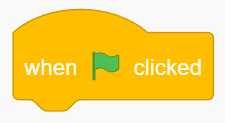 and
and 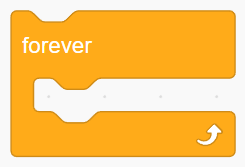 will be part of the programming.
What will change is the action of each letter.
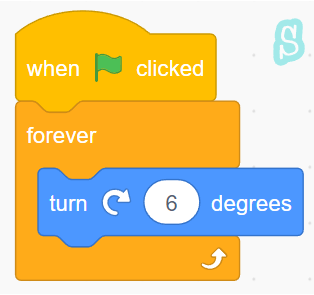
5. For the letter S, the chosen action was Motion (rotate right by 6 degrees).
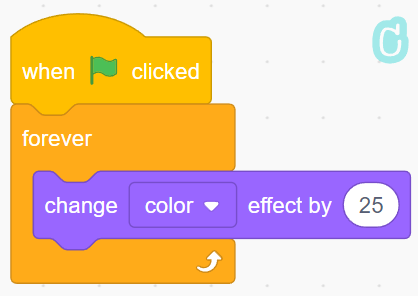
6. For the letter C, the chosen action was Looks (change color effect by 25).
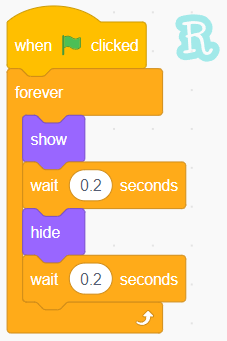
7. For the letter R, the chosen actions were Looks (show and hide) and Motion (wait for 0.2 seconds between actions).
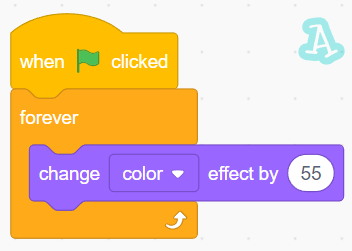
8. For the letter A, the chosen action was Looks (change color effect by 55).
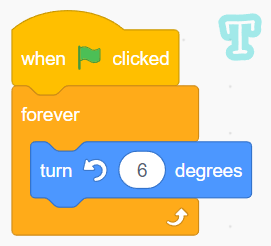
9. For the letter T, the chosen action was Motion (rotate left by 6 degrees).
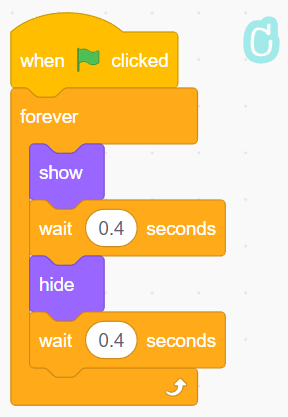
10. For the letter C (second C), the chosen actions were Looks (show and hide) and Motion (wait for 0.4 seconds between actions).
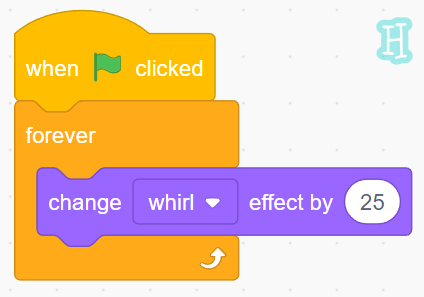
11. For the letter H, the chosen action was Looks (change color effect by 25, change color to whirl).
After completing the activity, ask the students to each create the programming done, with the letters of their name.
CONTINUE
Share with the class the construction results:
– What is the block palette used for?
– What is the name of the area that allows the visualization of all graphical and animated parts of the project?